Talk about your brand
The big spring cleaning doesn't just mean washing the windows and replacing winter clothes with spring fashion ones. Right now, many of us have time to deal with the real problems. In garages, cellars or attics, we accumulate everything that we no longer need, that has no place in any other room or that has simply been forgotten. Follow our 5-step guide so you don't completely despair in the chaos.
Tidy up like the pros: Clean up clutter in your basement and garage
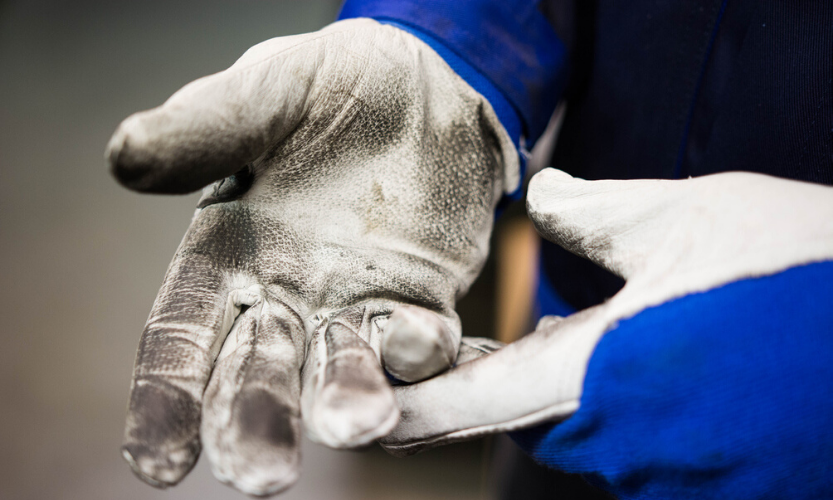
Phase 1: preparationSpontaneously tidy up the garage or cellar? This project will likely fail due to lack of preparation. Stored items are often heavy and bulky. Perhaps you can involve other family members in this event or ask friends for physical support? And honestly, the tidying up process will most likely not only be tiring, but also dirty. So choose the right clothes and protect your hands with gloves.
Spontaneously tidy up the garage or cellar? This project will likely fail due to lack of preparation. Stored items are often heavy and bulky. Perhaps you can involve other family members in this event or ask friends for physical support? And honestly, the tidying up process will most likely not only be tiring, but also dirty. So choose the right clothes and protect your hands with gloves.
The right equipment To ensure that your cellar does not fall into chaos again after a week and you can't find anything, you should establish a system before tidying it up. Boxes are usually the best choice for organizing items by category and making them easily accessible. But not all boxes are the same! They must have some characteristics that make them suitable for what you want to do.
1. If you use transparent boxes, you will be able to see later what you are storing inside them. Of course, you can also label the boxes to keep track of what you keep.
2. Choose boxes that can be hermetically sealed. This way you will protect your papers or clothes from unpleasant odors, humidity, insects and dust.
3. The most practical boxes are those that come in different sizes and can be stacked safely on top of each other.
4. To keep the boxes tidy, you can use accessories to organize them. Fortunately, there are some accessories that fit perfectly into the boxes.
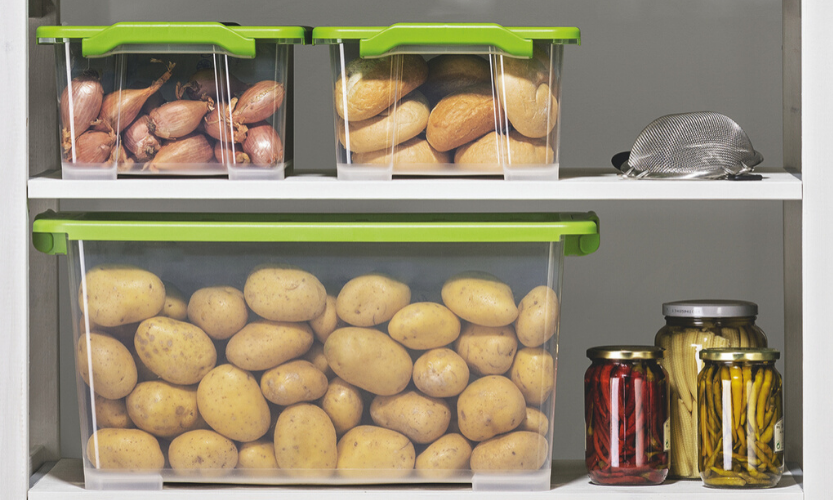
5. When storing food, make sure the boxes are made of safe, BPA-free and odorless materials.
Phase 2: sorting First, you need to designate boxes or storage places to sort items into the following categories:
- Shop
- To donate
- Sell
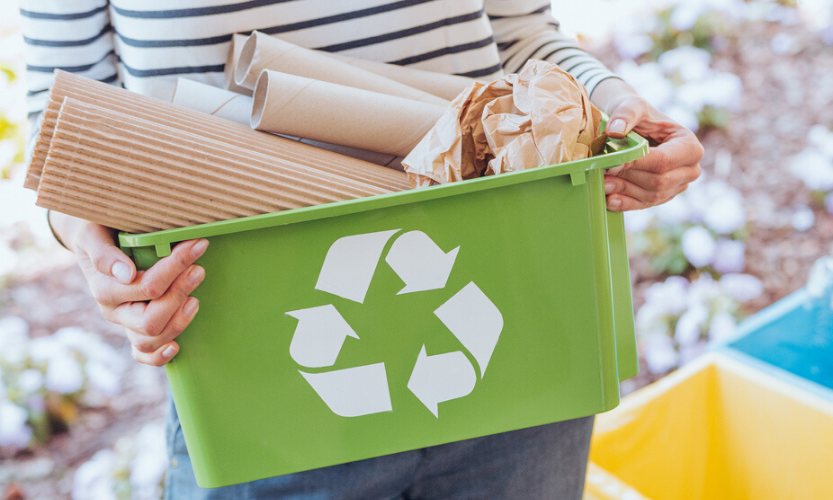
- Waste or recycling
- Move to another place in the house
First, you need to designate boxes or storage places to sort items into the following categories:
But how do you decide which items to keep or throw away? Think about whether you have used the item in the last few months. If not, it is likely that you will no longer need it in the future. Are you still unsure? Collect the items in a separate box and label them with today's date or the last day of use. If the date of last use was a year ago, during the next spring cleaning, you can be sure that you will no longer need them.
If possible, collect all items in another room first. This way the next phase will be much easier.
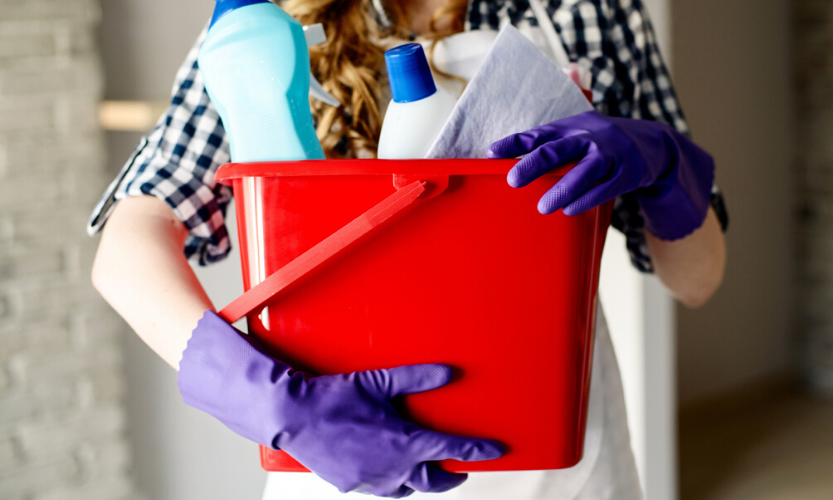
Step 3: CleaningCobwebs, dust and dirty windows: now that the room has been cleared, you can finally clean every hidden corner. This is also one of the few times when you can repaint the walls or oil the door hinges.
Cobwebs, dust and dirty windows: now that the room has been cleared, you can finally clean every hidden corner. This is also one of the few times when you can repaint the walls or oil the door hinges.
Phase 4: Organization Once you have tidied up and created a clean space, it's time to put everything away.
Then you create the categories again and sort your assets again. For example, for
- Sports accessories
- Gardening tools
- Automotive
- Tools
- food storage
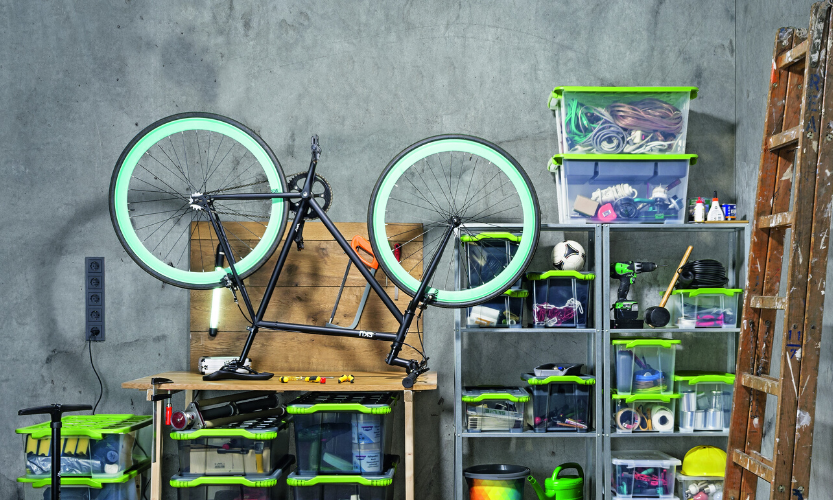
To keep everything organized, it's best to use a box system. But shelves, baskets and hooks can also help you bring order to the chaos. The important thing is that each item has its place and that all categories are properly labeled, so you can find things quickly. When storing items on shelves, it is best to consider the weight of the items (the heaviest ones at the bottom) and the frequency of use (the items you use most often - closest to the entrance).
Once you have tidied up and created a clean space, it's time to put everything away.
Then you create the categories again and sort your assets again. For example, for
To keep everything organized, it's best to use a box system. But shelves, baskets and hooks can also help you bring order to the chaos. The important thing is that each item has its place and that all categories are properly labeled, so you can find things quickly. When storing items on shelves, it is best to consider the weight of the items (the heaviest ones at the bottom) and the frequency of use (the items you use most often - closest to the entrance).
Step 5: Get rid of unnecessary thingsNow you can finally breathe a sigh of relief and be proud of yourself! The last step is to take care of the things you have fixed. Take your waste to recycling as soon as possible and sell or donate things you no longer need. Find a place to put items waiting for a new owner. But be careful not to fall back into the old routine and lose control of the cellar or garage. Otherwise, next spring you will have to clean everything up with Rotho's Evo boxes.
Now you can finally breathe a sigh of relief and be proud of yourself! The last step is to take care of the things you have fixed. Take your waste to recycling as soon as possible and sell or donate things you no longer need. Find a place to put items waiting for a new owner. But be careful not to fall back into the old routine and lose control of the cellar or garage. Otherwise, next spring you will have to clean everything up with Rotho's Evo boxes.


